 Login
Login Register


Create a road
Tools: 3D Studio Max 7
Tutorial author: xrk
This tutorial explains how to create a simple road in 3D Studio Max. It is recommended to have basics skills about this program. Click on Perspective View and then press Alt+W
 . Create a Plane from Create menu
  and then click Plane. Using the mouse make a random plane. On the right menu change Length to 10, Width to 20, Length Segs to 2 and Width Segs to 4. Press F4 to show the edges.
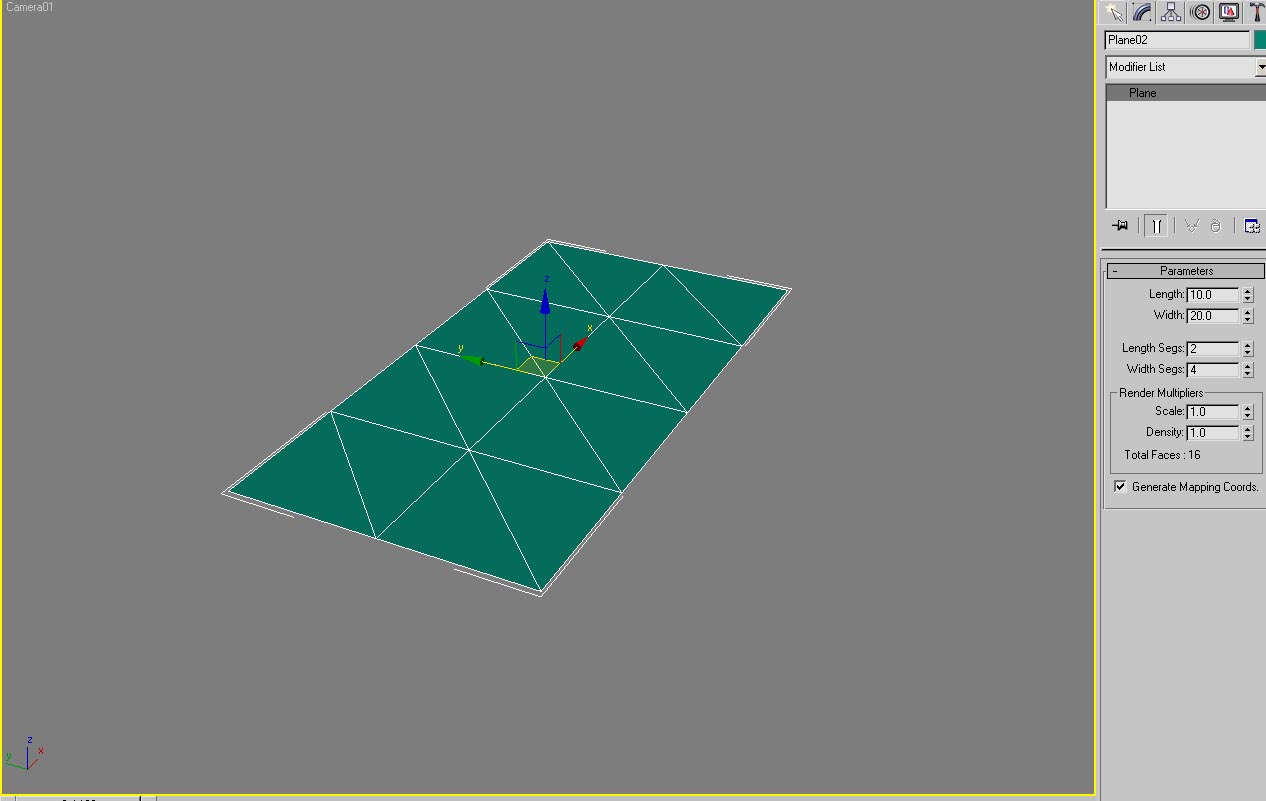
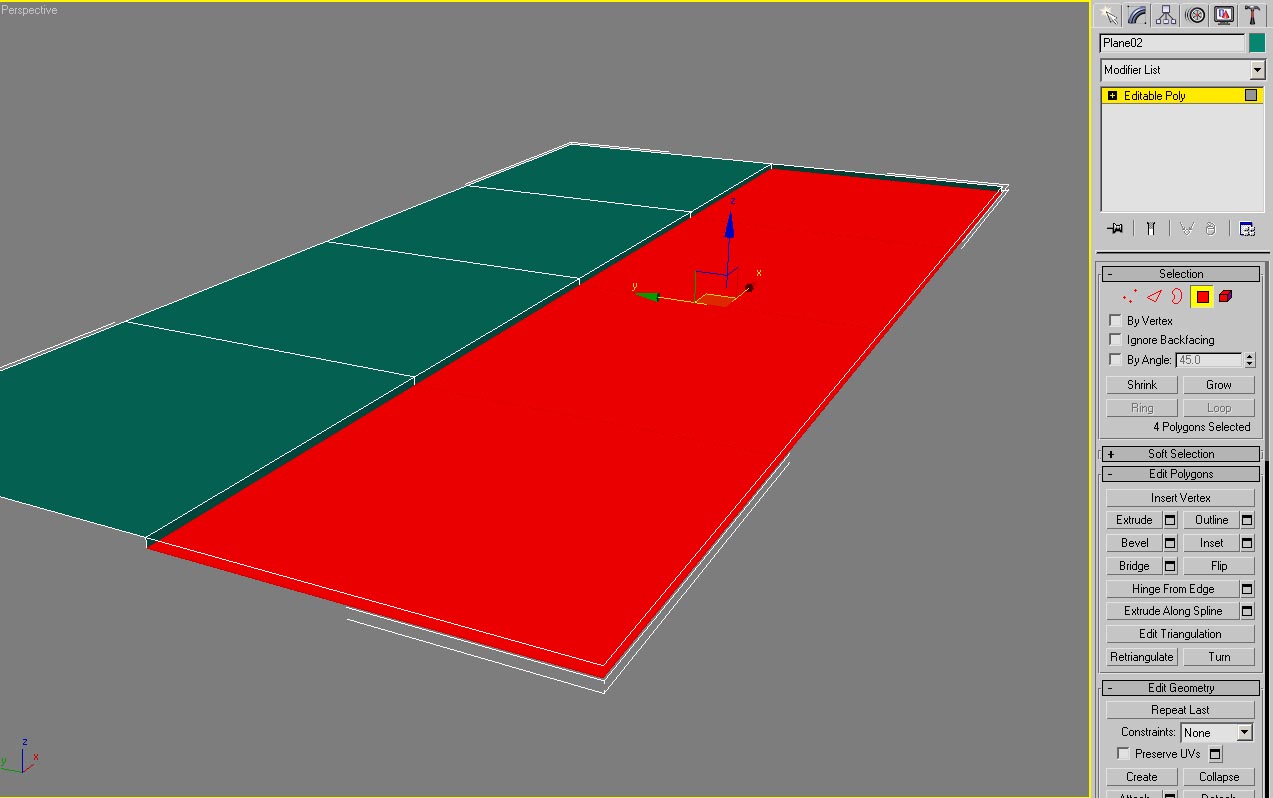
Right-click the road and click Convert to>Editable Poly. Press 4 (to automatically select Polygon) and select half of the road. Then click the small square button near Extrude and in the window type -0,12, ok.
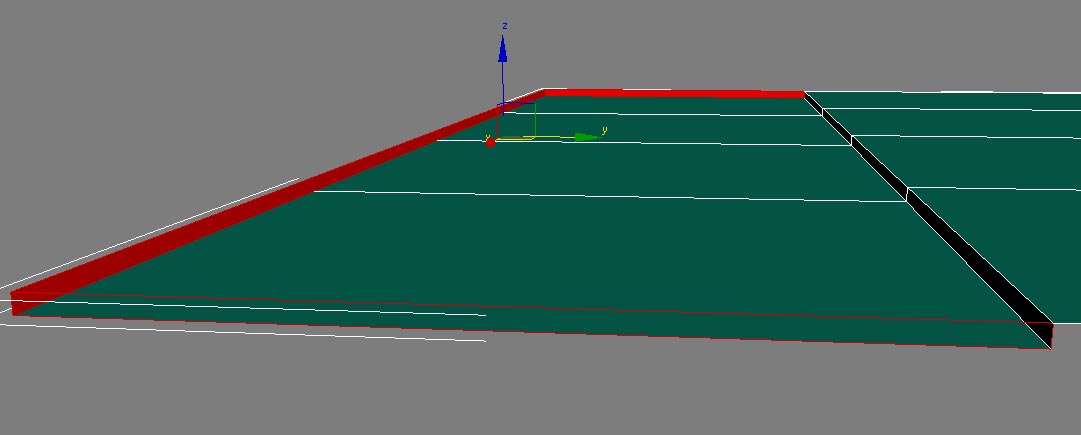
You will get some unwanted faces from the extrude, delete those:
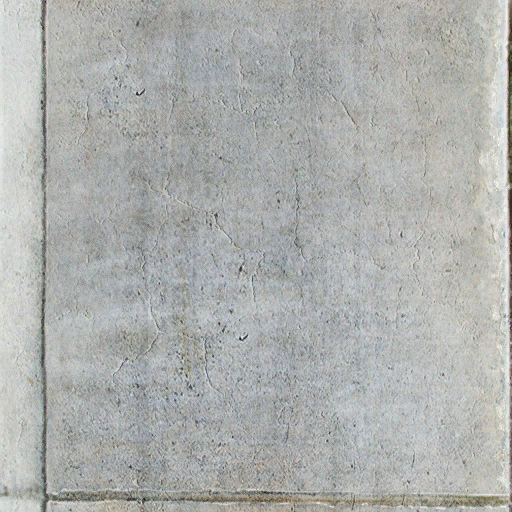
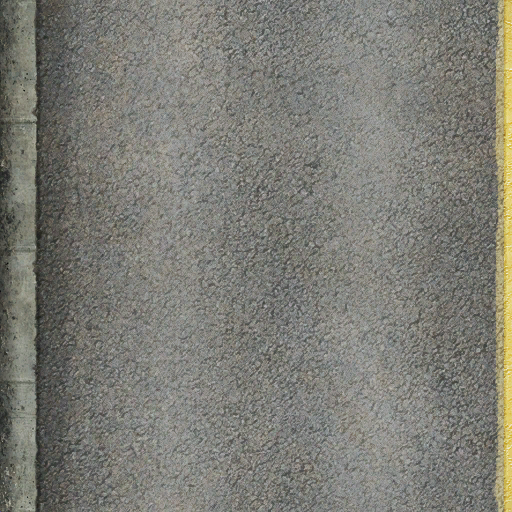
Get some textures, I got the one from San Andreas and save them where you want:
- Texture 1
- Texture 2
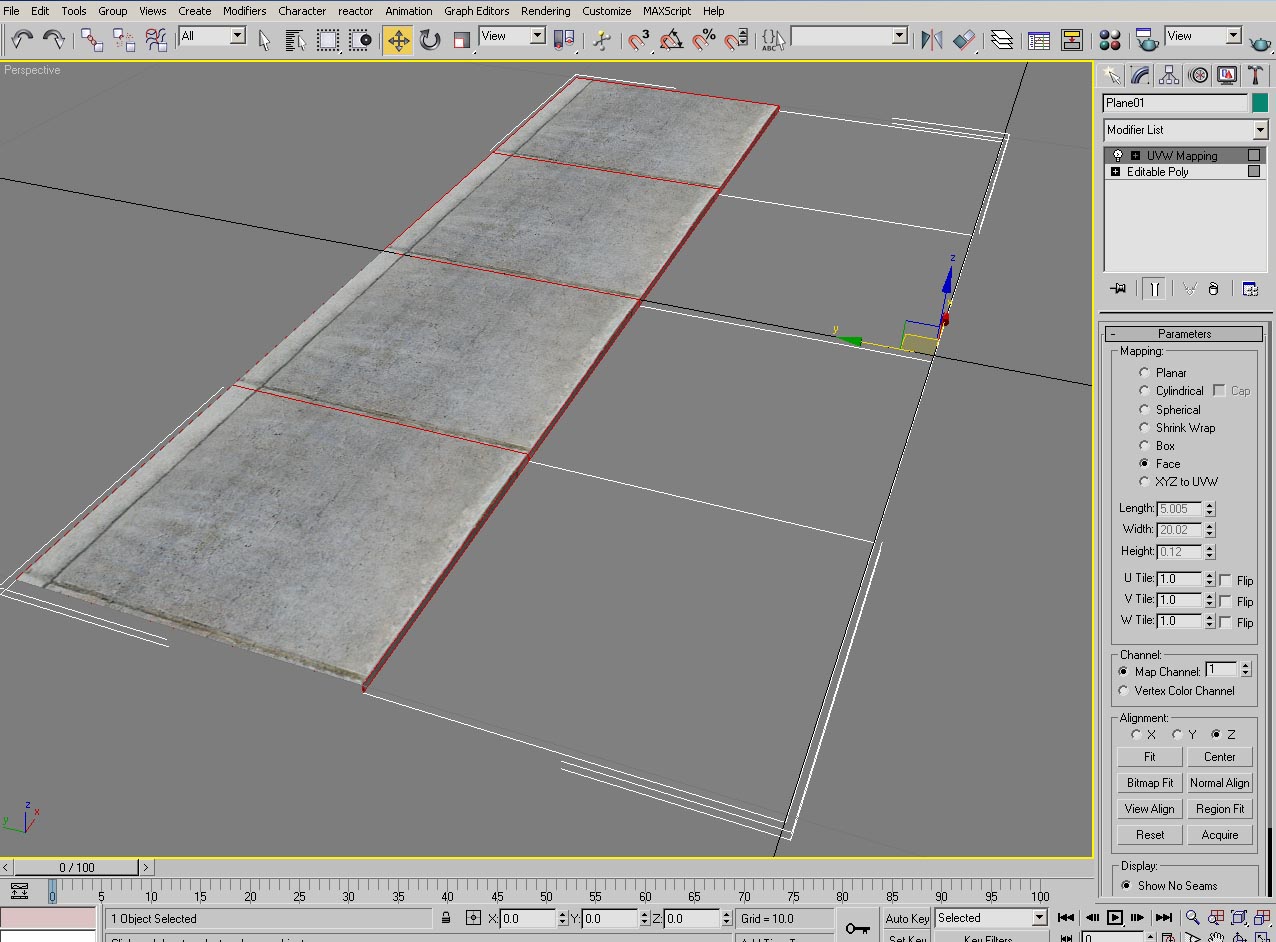
Now select the pavement and the faces and drag and drop the textures from your folder into 3D Studio Max, over the items selected. Go to Modifier List at top-right and select UVW Map. Then in the new parameters panel click Face. Now you should have something like that:
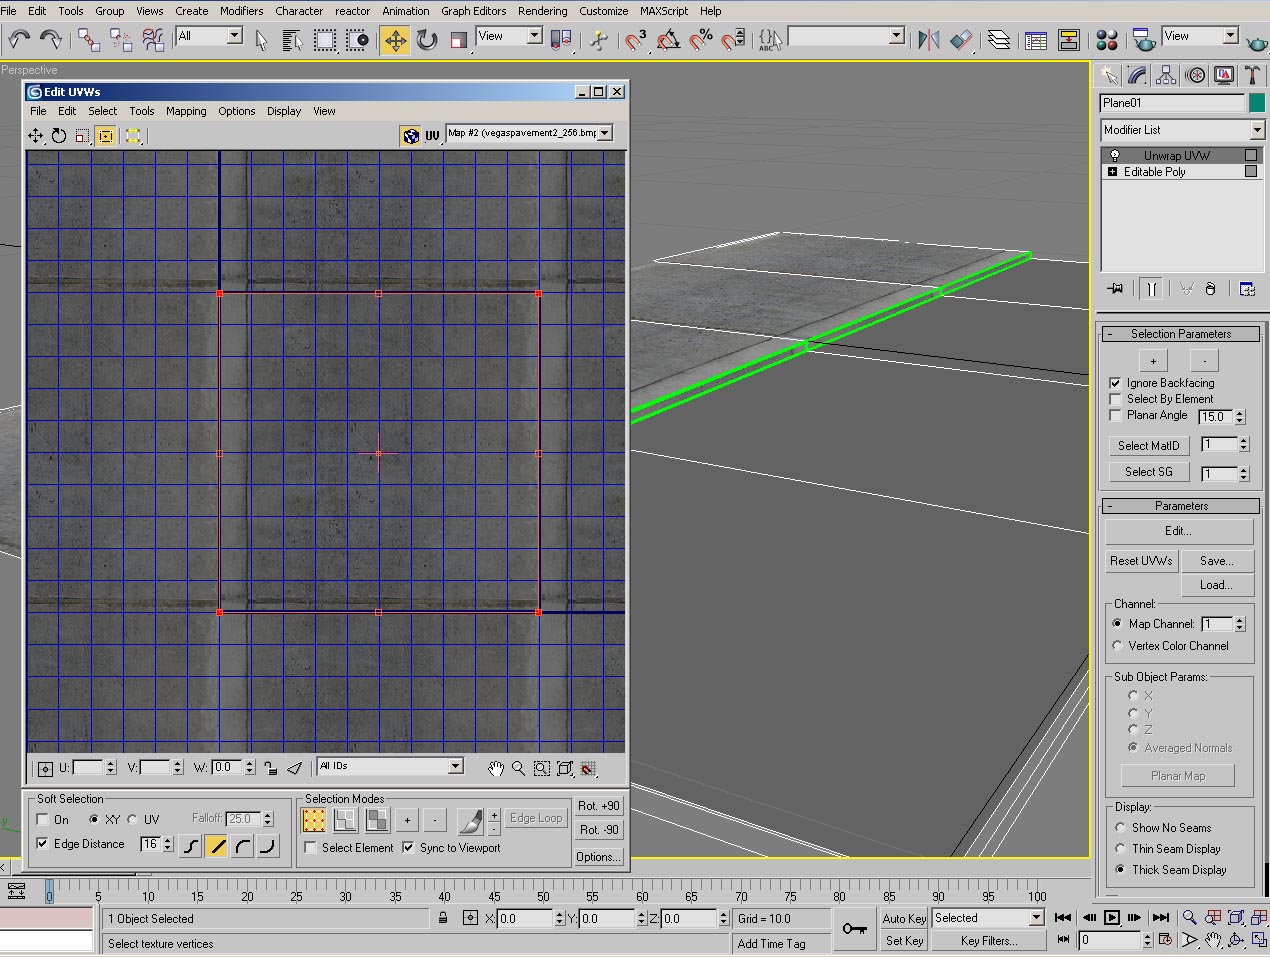
But the textures are wrong and needs to be fliped, so check the U Tile flip box. Convert to editable poly, then select the faces of the road and go back to modifier list and select Unwrap UVW. Now click Edit button. To see your texture in the background select it from the list in the top right corner of the edit UVW window:
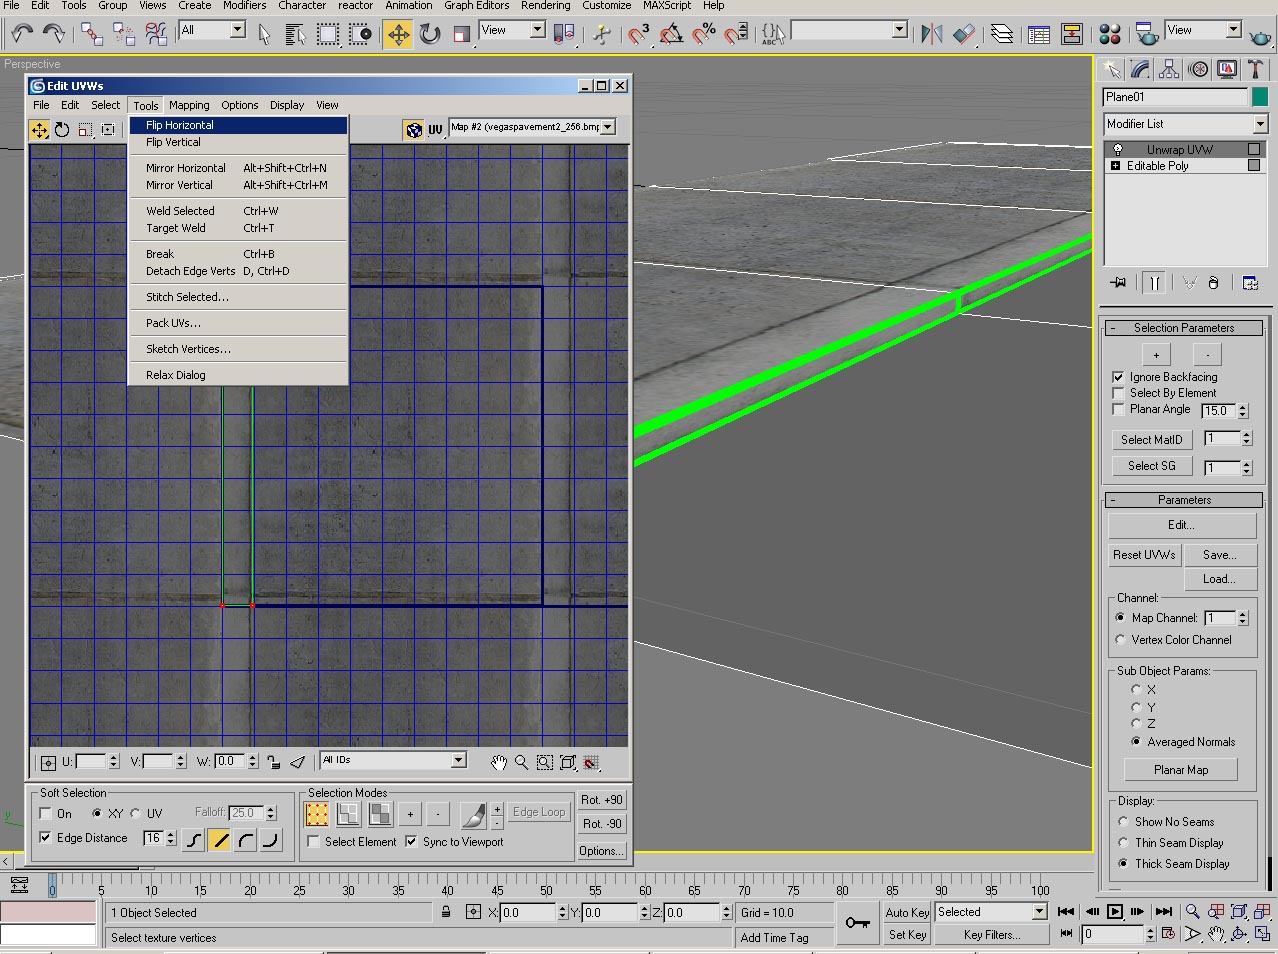
Fix the texture like this screen using also Flip button under Tools menu.
Convert to editible poly again and texture the road the same way as the pavement (you have to repeat the passages since you drag and drop the textures till here).
Once you textured everything select the object, right-click and Close. Then click on Mirror button
 and in the new window click Y and then OK. Now click the Select and Move button (the one with 4 arrows) and move the on Y axis (green one) the road so you can complete it.
Merge the 2 parts using Attach button. So select one of them, click Attach and select the other one. (If the object doesn't appear in the list convert both objects in editable poly). Now press 1 (Vertex view), select the vertex in the middle and click Weld.
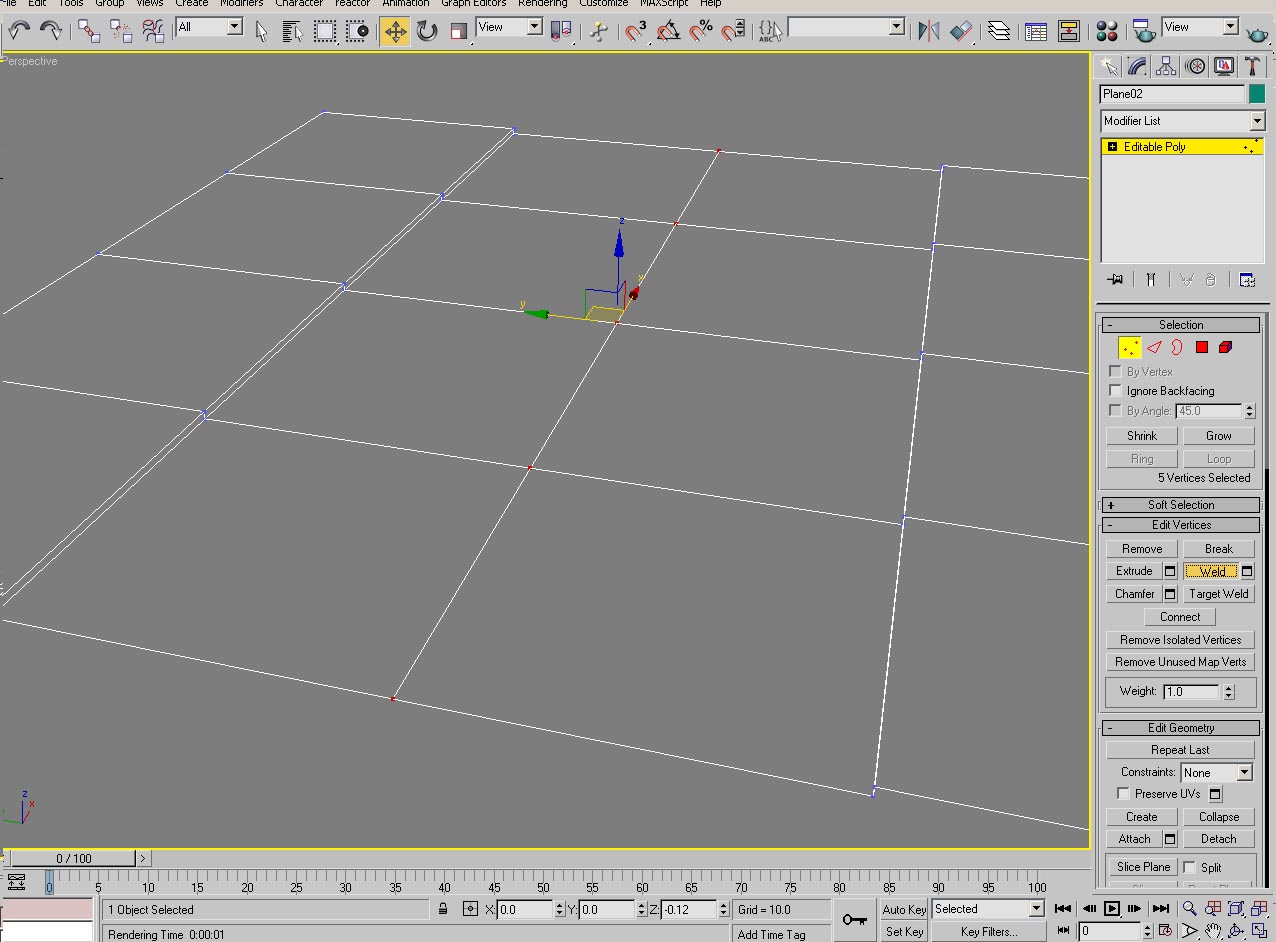
Now turn off vertex object mode and Go to the top viewpoint (press T), hold left shift and move on the X axis to create a clone lining it up with the original (as close as possible) and in the box that appears set it to about 50 copies. The amount will depend on the length of road you are making.
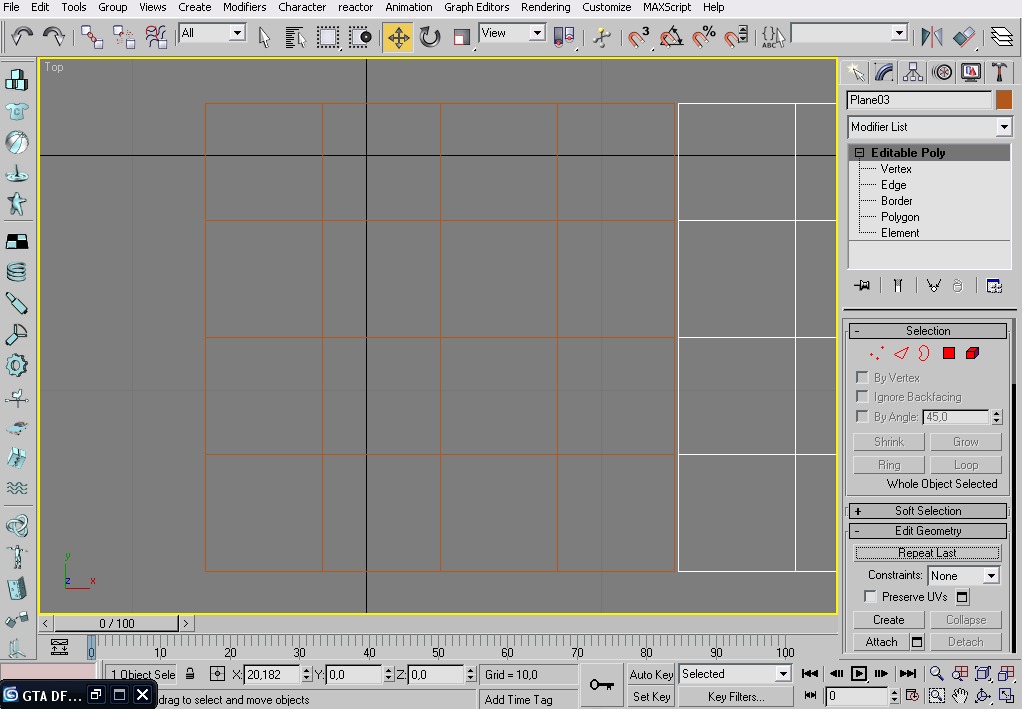
Now you should have a very long road. Press H, select all objects and convert them to editable poly. Then select select only one object and click the small square button near Attach. In the window select all objects and click Attach. Now click on Border (or press 3) and press Ctrl+A. Right-click and select Convert to Vertex and click on Weld. Now you have your road.

Advertisements